
 100,000+ lines in Stock
  ISO 9001
  Next Day Delivery
  4.6 Customer Rating


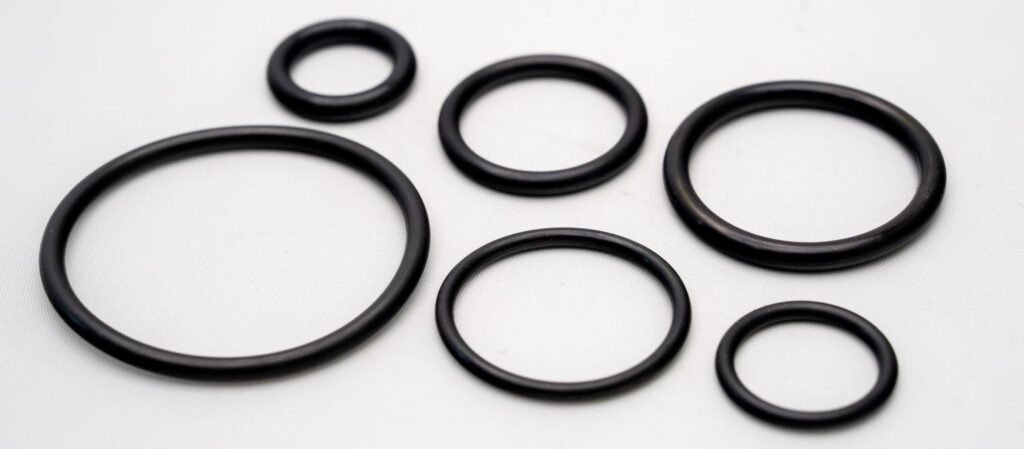
Correct O-ring installation is essential for achieving a reliable, leak-free seal. Whether you are installing an O-ring in an internal (bore) groove or an external (shaft) groove, using the correct fitting techniques helps prevent twisting, pinching, cuts and premature seal failure.
Improper installation is one of the most common causes of O-ring failure, particularly in dynamic or high-pressure applications. By following a few simple best practices, you can improve sealing performance, reduce maintenance costs and maximise the service life of your seals.
This guide explains how to install O-rings correctly, the tools and lubricants to use, and the most common mistakes to avoid.
Before You Begin
Before installing any O-ring, take a few moments to inspect both the seal and the mating components.
- Check that the O-ring is the correct size and material for the application.
- Inspect the seal for cuts, nicks, flat spots or manufacturing defects.
- Ensure the groove (gland) and mating surfaces are clean, dry and free from burrs or sharp edges.
- Confirm that any lubricant used is compatible with both the O-ring material and the operating media.
- Gather suitable installation tools, such as plastic picks, installation cones or guide sleeves where required.
Taking these simple precautions can significantly reduce the risk of installation damage.
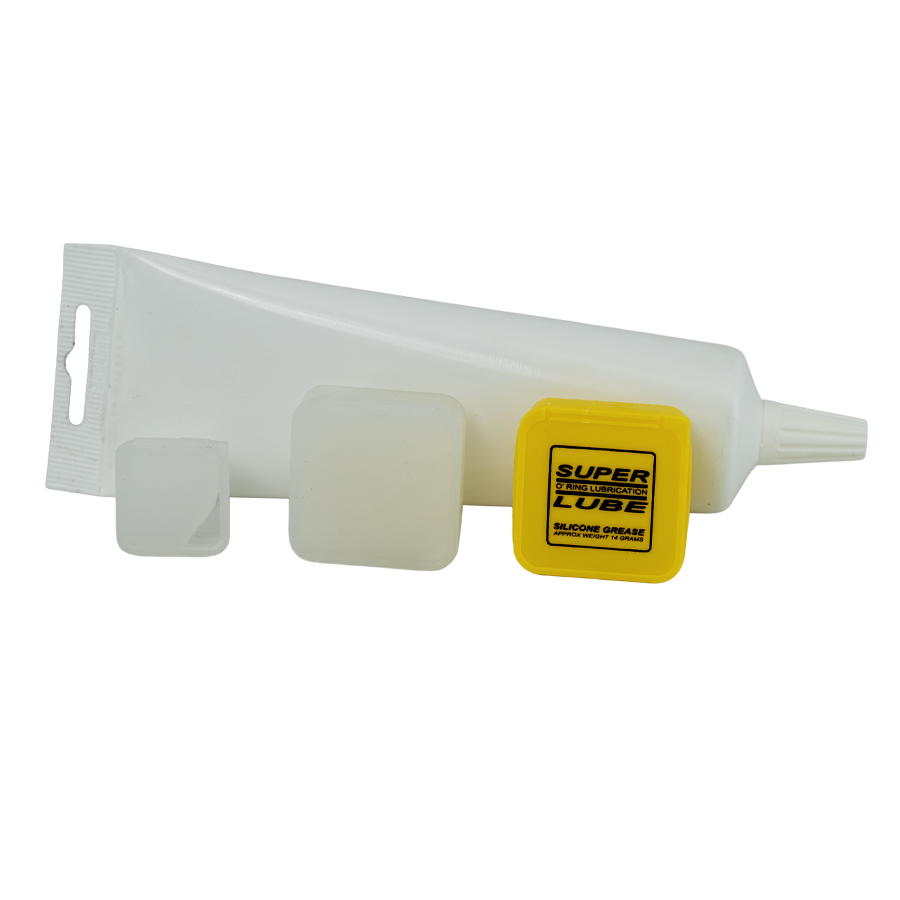
O-Ring Lubricant Compatibility
Using the correct lubricant helps minimise friction during installation and reduces the likelihood of twisting or tearing the seal. Always confirm lubricant compatibility with both the elastomer material and the application's operating conditions.
| O-Ring Material | Typical Compatible Lubricants |
|---|---|
| Nitrile (NBR) | Silicone grease, mineral oil (application dependent) |
| EPDM | Silicone-based lubricants |
| FKM (Viton®) | PFPE, fluorinated or compatible synthetic lubricants |
| Silicone | PTFE-based lubricants or compatible synthetic lubricants |
Always verify compatibility with the O-ring manufacturer and the service media before installation.
How to Fit an O-Ring into an Internal Groove (Bore or Female Housing)
1. Clean the Groove
Ensure the groove and surrounding sealing surfaces are clean and free from dirt, burrs, machining swarf or sharp edges that could damage the O-ring during installation.
2. Apply a Suitable Lubricant
Lightly lubricate the O-ring using a lubricant compatible with both the seal material and the application. This helps reduce friction and allows the seal to seat more easily.
3. Anchor One Section of the O-Ring
Position one section of the O-ring into the groove first to hold it securely in place before fitting the remainder.
4. Work Around the Circumference
Gradually press the O-ring into the groove, working evenly around the circumference. Gently compress the seal as required, taking care not to twist, roll or overstretch it.
5. Use Appropriate Installation Tools
Where necessary, use plastic or nylon installation tools to ease the O-ring into position. Avoid using metal screwdrivers, picks or sharp tools, which can easily nick or cut the seal.
6. Inspect the Installation
Check that the O-ring sits evenly within the groove without twists, pinches or sections protruding above the gland.
How to Fit an O-Ring into an External Groove (Shaft or Male Fitting)
1. Inspect the Shaft and Groove
Ensure the shaft and groove are smooth, clean and free from burrs or sharp edges that could damage the seal as it passes over the shaft.
2. Lubricate the Components
Apply a light coating of a compatible lubricant to both the shaft and the O-ring to reduce installation friction.
3. Use Installation Cones or Sleeves
Where possible, use guide sleeves or expansion tools to help stretch the O-ring evenly over the shaft and into the groove. These tools reduce the risk of excessive stretching and accidental damage.

4. Alternative String Installation Technique
If specialist installation tools are unavailable, a smooth, strong piece of cord or string can be used.
Loop the string around the shaft and through the O-ring, positioning the O-ring close to the groove. By gently pulling the string, the O-ring can be guided over the shaft and into position while helping to minimise twisting or pinching.
5. Perform a Final Inspection
Once installed, check that the O-ring sits evenly in the groove and has not been twisted, stretched excessively or damaged during fitting.
Common O-Ring Installation Mistakes
Avoid these common errors to maximise sealing performance:
- Using sharp metal tools that can cut or nick the seal.
- Installing the O-ring without lubrication where lubrication is recommended.
- Overstretching the O-ring during installation.
- Twisting or rolling the seal into the groove.
- Installing an incorrectly sized O-ring.
- Ignoring damaged grooves or rough sealing surfaces.
- Using an incompatible lubricant that may affect the elastomer material.
O-Ring Installation Checklist
Before placing equipment into service, confirm the following:
| Inspection Item | Completed |
|---|---|
| Groove and sealing surfaces cleaned | ✓ |
| Correct O-ring size and material selected | ✓ |
| Compatible lubricant applied (where required) | ✓ |
| O-ring installed without twisting or pinching | ✓ |
| Seal seated evenly within the groove | ✓ |
| Final visual inspection completed | ✓ |
General Installation Tips
- Never use sharp tools to install or remove O-rings.
- Avoid excessive stretching during installation. Stretch the seal only as much as necessary to fit over the component.
- Where applicable, refer to ISO 3601 and the seal manufacturer's recommendations for groove dimensions and installation guidance.
- Always confirm that lubricants are suitable for both the O-ring material and the operating media.
- Replace damaged or worn O-rings rather than attempting to reuse.
Our team of experts are available to provide guidance, contact them on +44 (0) 1420 474 123 or on E-mail here.